Darning
 Darning can be used for many different repairs - on knitwear and also on woven fabrics. In other words, it's a very useful skill to learn!
The version shown in the picture is a very decorative way to darn, as the entire repair is visible on the top of the garment, creating a sort of woven patch that covers the damaged area. It will still be very discreet if you use the same color yarn as the garment is knitted in, or it can be visible and decorative when you play with colors.
How to use decorative darning to repair a hole:
Choose a thread that is of a similar quality and thickness to your garment. Use a blunt needle (if using a pointed needle, work with the "wrong" end first when weaving to avoid splitting the threads).
Make sure you cover the entire area that is damaged, including worn and weak stitches, plus a minimum of three extra stitches around in all directions.
Start by bringing the needle up into one corner of the area you want to darn. Leave a tail of about 10 cm to tie off at the end. Let the thread follow the edge of the area you want to darn, then bring the needle under a half stitch or half "V" across to start the next row of warp. Continue working up and down until the entire area is filled with vertical lines of thread. The distance between each line should be half a stitch ( if you are working in woven fabrics: equal to the thickness of your thread). On the back of the garment there should be no long lines of thread, only small stitches, since the darning is only done on the top side.
Now it's time to make the horizontal lines. The process is the same - long threads on the top and small stitches on the back, on both sides of the broken area. Except that the thread will now be woven together with the vertical lines: over and under every other thread. On the next row, weave over and under the opposite threads of the ones in the previous row. Use the needle to push the rows together as you weave so that the lines lie straight and even.
As you work, pay attention to the tension. Too tight will cause the garment to bunch up. It's better if it's too loose, because then you can adjust by tightening the loose ends of the thread at the end. After you're done darning, you can steam the repair with an iron to make it look flat and nice in the end.
Finish by attaching the loose ends at the back (see separate guide).
Note that this is a repair without elasticity. If you are using the technique on an area of high stretch, such as an elbow, you may need to add a few extra stitches around the darning to spread the stress. Also, keep in mind that the tension in the repair needs to be loose enough to allow you to bend your arm (if it is at the elbow) when wearing the garment.
Level: intermediate
-
Red cedar wood oil
Regular price 119,00 NOKRegular priceUnit price per -
Brush cleaner for Velcro, clothes brushes and hair brushes
Regular price 49,00 NOKRegular priceUnit price per -
Red cedar wood balls
Regular price 69,00 NOKRegular priceUnit price per -
Wool detergent - lavender and cedar
Regular price 229,00 NOKRegular priceUnit price per -
Clothes brush with bronze for coarse textiles
Regular price 479,00 NOKRegular priceUnit price per -
Cedar wood rings
Regular price 99,00 NOKRegular priceUnit price per -
Clothes brush for delicate fabrics
Regular price 479,00 NOKRegular priceUnit price per -
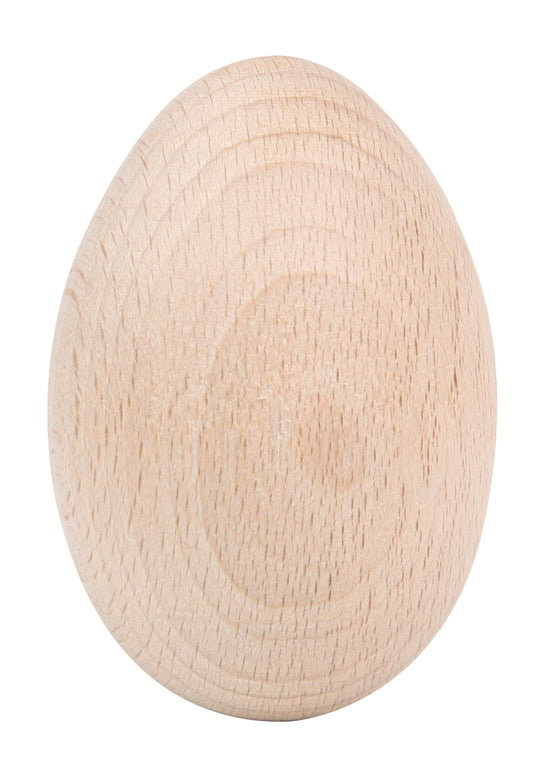
Darning egg in untreated wood
Regular price 49,00 NOKRegular priceUnit price per -
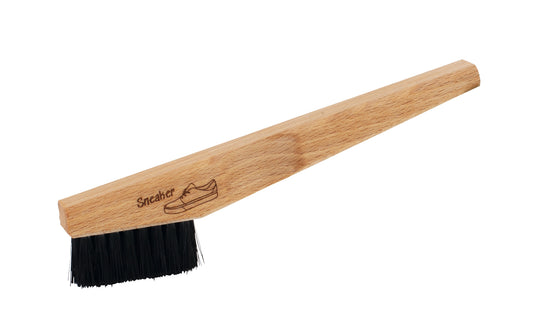
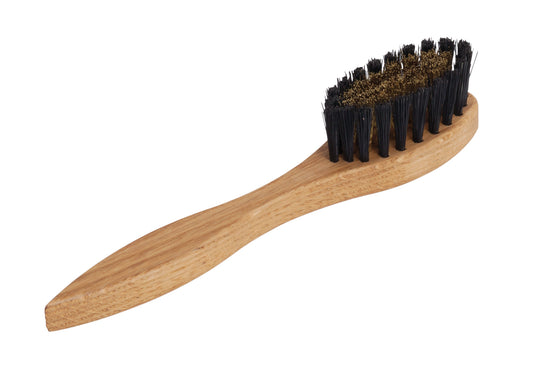
Shoe brush for sneakers
Regular price 109,00 NOKRegular priceUnit price per -
Red cedar blocks
Regular price 99,00 NOKRegular priceUnit price per -
 Sold out
CARING KIT take care of your clothes
Regular price 995,00 NOKRegular priceUnit price per -
Pocket clothes brush for all fabrics
Regular price 99,00 NOKRegular priceUnit price per -
 Sold out
Reusable cotton shoe bag
Regular price 69,00 NOKRegular priceUnit price per -
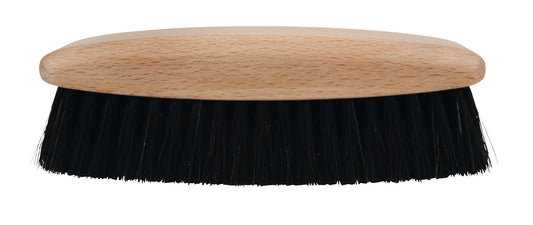
Shoe brush with stiff natural bristles for cleaning
Regular price 99,00 NOKRegular priceUnit price per -
Wool lint comb
Regular price 99,00 NOKRegular priceUnit price per -
Laudry brush for stain removal
Regular price 399,00 NOKRegular priceUnit price per -
Lemon soap stick for stain removal
Regular price 119,00 NOKRegular priceUnit price per -
Handmade stuffed mushroom
Regular price 399,00 NOKRegular priceUnit price per -
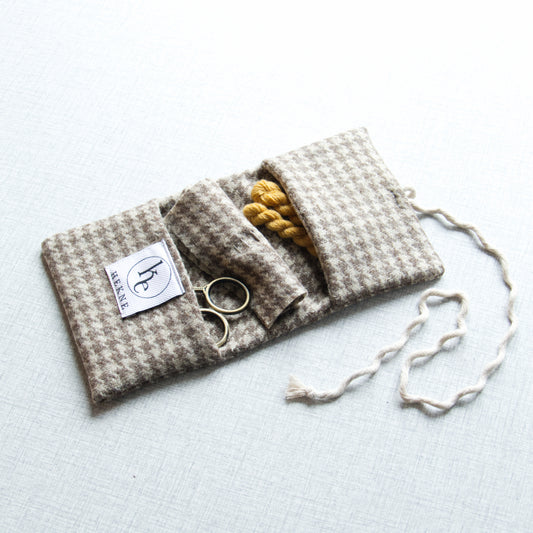
UPCYCLED repair kit with sewing supplies
Regular price 549,00 NOKRegular priceUnit price per -
Shoe polish cloth
Regular price 39,00 NOKRegular priceUnit price per -
Shoe brush for suede
Regular price 99,00 NOKRegular priceUnit price per -
Lemon soap foam for delicate fabrics
Regular price 229,00 NOKRegular priceUnit price per -
Shoe brush
Regular price 249,00 NOKRegular priceUnit price per -
Shoe polish application brush
Regular price 99,00 NOKRegular priceUnit price per -
Red cedar hook up
Regular price 99,00 NOKRegular priceUnit price per